

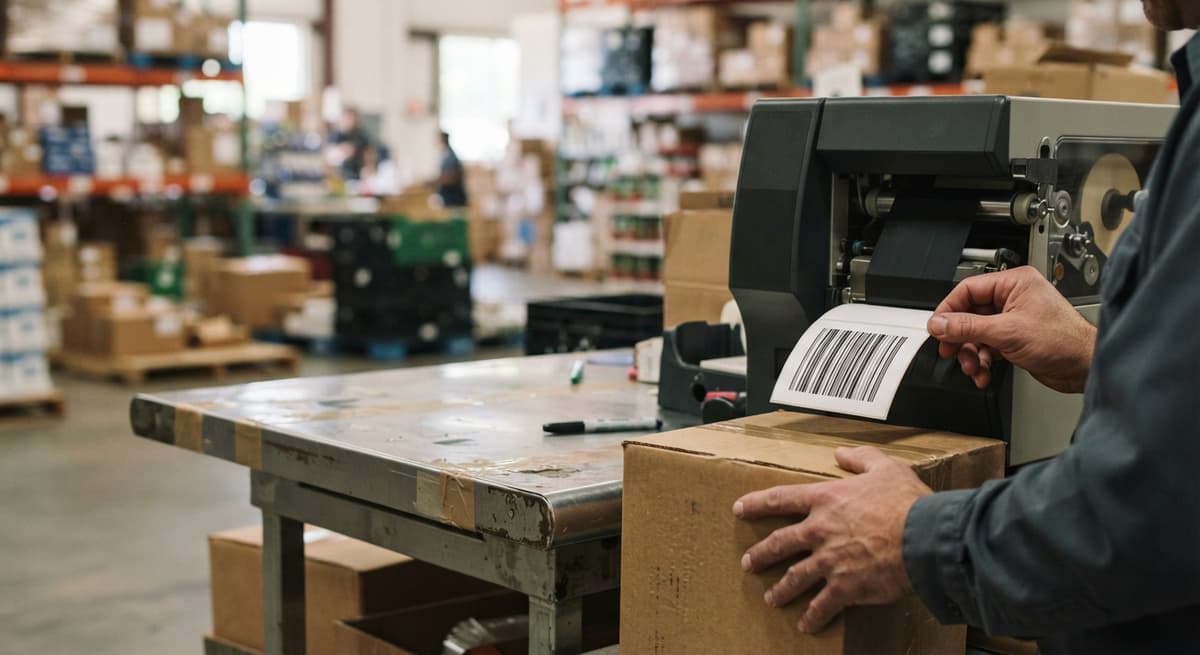
Create A Barcode
To create a barcode, pick a format (Code 128 works for most warehouses), enter your item number into a free barcode generator, set the size and resolution, then print it on a label. The whole process takes under 10 minutes for a single label. This guide covers every step, from choosing the right format to connecting scans to your inventory system.
Reviewed September 2026. Figures are worked from the assumptions stated beside them, so you can substitute your own and the arithmetic still holds.
Reviewed and updated: July 2025
Book a callWhy Small Warehouses Need Barcodes
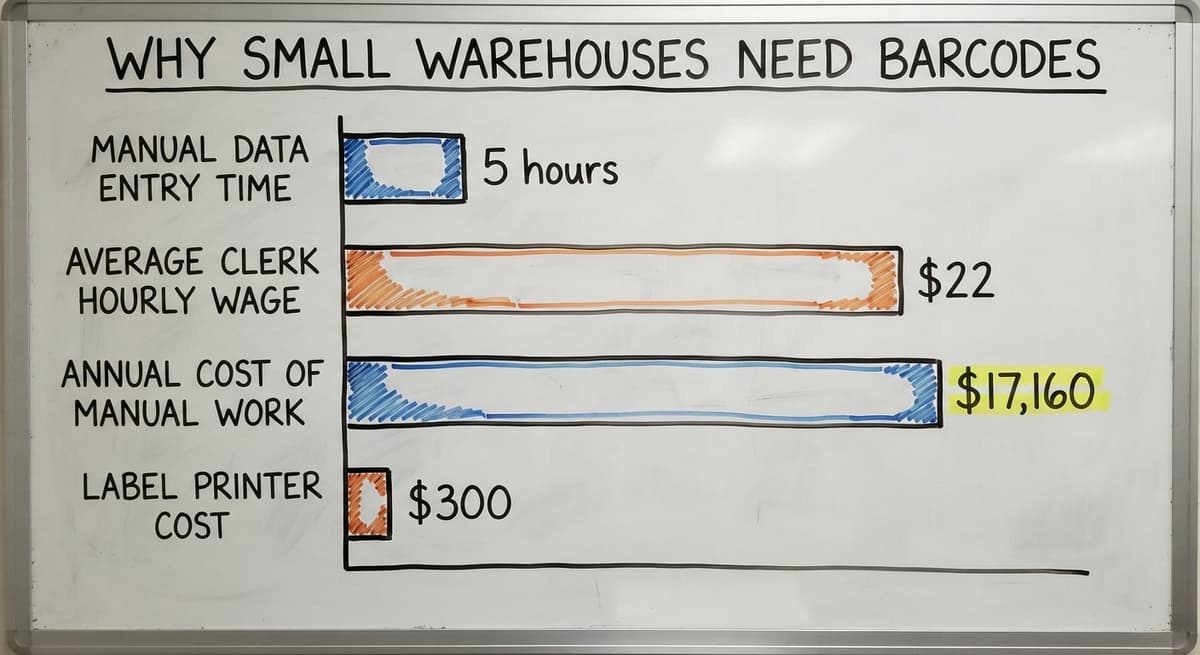
Running a warehouse on spreadsheets and printed pick sheets costs more than it looks. Consider 3 staff members spending 5 hours a week on manual data entry. At the average warehouse clerk wage of $22 per hour, that is $17,160 a year spent on work a barcode scan replaces in seconds. Errors compound that cost: a wrong count means a mis-pick, a customer complaint, and time spent fixing it.
You do not need a large ERP or a big IT budget to fix this. Even a 5-person warehouse can run a solid barcode setup with a free generator, a $300 label printer, and a basic scanner. The goal is fewer mistakes and faster moves, not a technology overhaul.
We build it for your operation, and the first look is free
If you would rather not compare products, describe how your operation already works and we build the system around it.
No build cost. You see it running on your own process first, and the monthly subscription starts only once it is live.
Book a callWhat a Barcode Is and How It Works
A barcode is a machine-readable pattern that stores a number or short text string. A scanner reads the pattern and sends that data to your software, the same way a keyboard sends a keystroke. As GS1 explains, barcodes are "the global language of business," used to identify products, locations, and shipments without hand-keying.
Every scan replaces a manual entry. That cuts typos during receiving and picking, and it creates an automatic record of what moved and when. The audit trail alone is worth the setup time.
The IRS reinforces why accurate counts matter: IRS Publication 538 states, "To figure taxable income, you must value your inventory at the beginning and end of each tax year." Barcodes make that count faster and more accurate.
What Barcode Type Should a Small Warehouse Use?
For most small warehouses, Code 128 is the right default, and here is why. Barcodes fall into 2 families: 1D (a series of vertical lines) and 2D (square patterns like QR codes). Most warehouse scanners read both, but 1D is the standard starting point because every scanner on the market supports it.
Here is a quick breakdown of the most common formats:
| Format | Family | Best Use |
|---|---|---|
| Code 128 | 1D | Warehouse and distribution, all-purpose |
| Code 39 | 1D | Older systems, letters and numbers |
| UPC-A / EAN-13 | 1D | Retail products sold to consumers |
| ITF-14 | 1D | Shipping cartons and outer cases |
| QR Code | 2D | URLs, structured data, phone-readable |
| Data Matrix | 2D | Small parts and tight label space |
| PDF417 | 2D | Shipping labels and ID documents |
Code 128 handles letters, numbers, and special characters. It prints cleanly on standard label stock and scans reliably from 2 to 30 inches. If you are selling retail products to consumers, you will need a UPC-A or EAN-13, which needs a licensed GS1 prefix. For everything else inside your warehouse, Code 128 covers it.
2D formats like QR codes and Data Matrix are worth considering when you need to store more than a simple item number, such as a URL, a batch number, or a serial number alongside a SKU. If your current need is a SKU barcode or a bin location barcode, start with Code 128 and add 2D later if a specific need comes up.
How to Create a Barcode: Steps 1 Through 3
Step 1: Define What Each Barcode Represents
Before you open any barcode generator, decide what each barcode will map to. One barcode should equal one thing: a SKU, a bin location, a pallet, or an order. Mixing these up creates confusion fast.
Set a numbering scheme and stick to it. Short, consistent numbers are easier to manage. "WH-001" is better than a 22-character vendor part number. Avoid using vendor part numbers as your only identifier. Vendors change their numbers; yours should stay stable. Write your scheme in a spreadsheet before you generate a single label.
The comparison is easier when one option is built for you
Off-the-shelf means fitting your process to the software. We do it the other way round, and the first look costs nothing.
Book a callStep 2: Choose a Barcode Generator
Several tools let you create a barcode at no cost:
- Free online generators (search "barcode generator") work fine for small batches of 1 to 50 labels
- Desktop software like Bartender or ZebraDesigner handles large label runs and connects to databases
- Your inventory or warehouse management software may already include a built-in generator
- For a custom inventory system, a developer can generate barcodes programmatically using standard open-source libraries
Free tools are a fine starting point. The NIST Manufacturing Extension Partnership notes that small manufacturers and distributors benefit most from starting simple and scaling process improvements gradually. Pick the simplest tool that covers your current volume.
Step 3: Enter Your Data and Export the File
Open your generator, type or paste your item number, and select Code 128 as the barcode format. Set the width and height to match your label stock. Check that the human-readable number prints below the bars so staff can verify it by eye without a scanner.
For the file itself, save as PNG or SVG. Both formats stay sharp when you resize them. Avoid JPEG: its compression blurs the bar edges, and a blurry barcode fails to scan. Keep a master folder organized by SKU or location, and store the source data in a spreadsheet so you can regenerate labels if stock runs out.

What Size and Resolution Should My Barcode Labels Be?
Print at 300 DPI minimum; 600 DPI is better for labels smaller than 2 inches wide. The minimum bar height for Code 128 is about 0.5 inches, but taller bars are easier to scan at an angle. A label that is too small or printed at low resolution causes scan failures that slow receiving and picking to a crawl.
Before printing a full batch, test-scan a single label with the actual scanner you plan to use. Scan it at the angle your staff will hold it, under your warehouse lighting. Fix any issues before you print 500 labels. One test scan saves hours of reprinting.
Choosing the Right Label Stock and Printer
Label choice matters as much as barcode design. Thermal transfer labels use a ribbon to fuse ink into the label surface. They last longer under warehouse conditions: heat, moisture, and handling. Direct thermal labels are cheaper but fade over time, especially in warm areas.
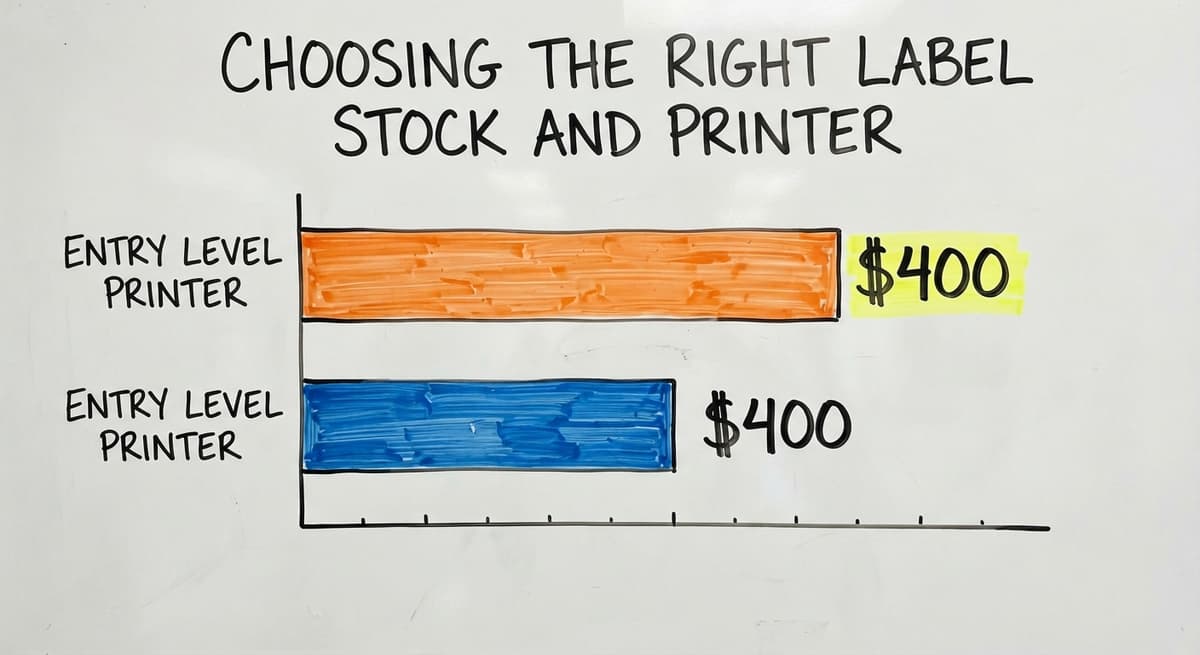
For printers, Zebra and Honeywell both make reliable entry-level label printers in the $250 to $400 range. Match your label size to the surface you are applying it to. A 4-inch by 6-inch label is standard for carton and shelf use. For small parts or bin tags, a 1-inch by 1-inch or 2-inch by 1-inch label works better.
Glossy surfaces, such as plastic totes or coated cartons, may cause labels to peel. Use a matte label or a label with an aggressive adhesive rated for that surface. The right label stock is as important as the right barcode format.

Scanning Equipment and Connecting to Your Inventory System
A barcode on its own does nothing without a scanner and software to receive the scan. Handheld laser or CCD scanners handle most warehouse tasks and cost $50 to $200. Bluetooth scanners give staff freedom to move without a cable. Mobile computers, like Zebra handheld devices, combine scanner and screen in one unit and are worth the higher cost for picking-heavy operations.
Your scanner sends the scanned value to whatever software is open, the same way a keyboard does. That means your inventory system needs a database that matches each barcode to an item record. QuickBooks can store item numbers that match your barcodes, but it was not built for barcode scanning workflows. A custom inventory layer can sit between your scanner and QuickBooks to handle the logic: match the scan to a record, update the count, and push the result to QuickBooks automatically.
For a deeper look at this gap, see our notes on [QuickBooks inventory limitations and workarounds].
The scanner is just the input device. The system behind it work out whether the scan does anything useful.
See it running on your own process first
No build cost. The subscription starts once it is live and doing the job, not before.
Book a callUsing Barcodes for Receiving, Picking, Shipping, and Bin Locations
Once your labels are printed and your scanner is connected, 3 workflows deliver the most immediate value.
Receiving: Scan each item as it arrives. The system updates your stock count automatically and timestamps the receipt. No manual entry, no count sheet to transcribe later.
Picking: Staff scan the bin location first, then the item, to confirm the right product is being pulled. A mismatch triggers an alert before the wrong item ships.
Shipping: Scan outbound orders to close them and trigger an invoice or shipment record in your system.
Bin and shelf location barcodes deserve their own attention. Does barcoding bin locations actually reduce picking errors? Yes, and it is one of the fastest wins available. Print a barcode for every bin, shelf, and aisle. Staff scan the location, then the item. The system confirms the match. Misplaced stock drops sharply within the first week. A [barcode inventory management system] built around location scanning gives you a real-time map of where everything sits. For setup guidance, see [how to set up bin locations in a small warehouse].
Each scan in these 3 workflows replaces a manual entry and adds a timestamped record to your audit trail.

Common Mistakes to Avoid When Creating Barcodes
Most barcode problems come from a short list of avoidable errors:
- Printing at too low a resolution causes bars to bleed together, making scans fail or misread
- Using duplicate numbers across different items means 2 SKUs share one barcode, which breaks every count that touches either one
- Skipping the quiet zone, the blank margin on each side of the barcode, causes scanners to misread the start or stop pattern
- Not test-scanning before a full print run means you discover problems after 500 labels are already applied
- Using vendor part numbers as your primary identifier creates fragility when a vendor reuses or changes a number
None of these mistakes are hard to avoid. They all come from moving too fast before the basics are confirmed. Slow down for 20 minutes at the start, and you will not spend 3 hours fixing labels later.
When to Move Beyond a Free Barcode Generator
Free online tools work well for 1-off labels or a batch of 20 to 30 SKUs. They stop working well when your item list changes frequently, when you need to reprint labels for hundreds of SKUs at once, or when you want barcodes to generate automatically when a new item is added to your system.
At that point, the manual step of exporting data, uploading it to a generator, downloading images, and reimporting them into your label software becomes a job in itself. Custom [warehouse management software for small teams] can generate and print barcodes directly from your item database, with no export or reimport step.
A [custom warehouse software built around your operation] connects barcode generation, label printing, scan receiving, and QuickBooks updates in one flow. No forced migration away from QuickBooks. No enterprise system that assumes you have an IT department. The system handles what QuickBooks cannot, and your team keeps using the tools they already know.
For a [barcode inventory management system overview] that fits this kind of operation, the next step is a short conversation about what your current process looks like and where it breaks down.
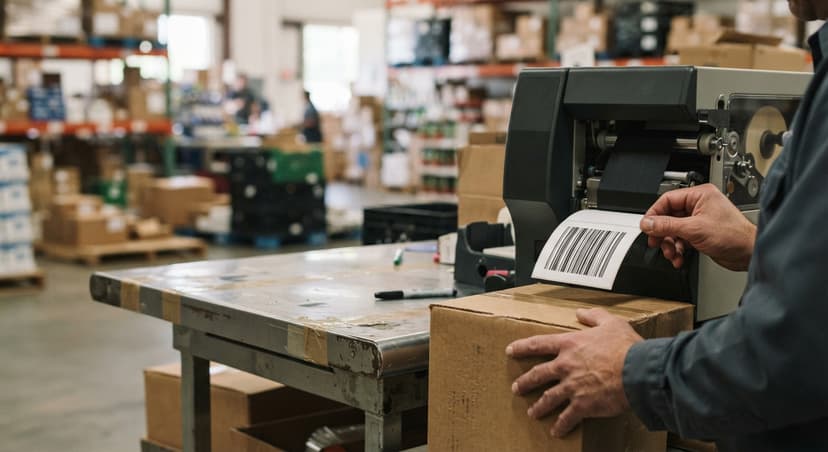
Getting Started Today
You can create your first barcode in under 10 minutes with a free online generator. Start with 1 product category or 1 warehouse zone. Print a small batch, test-scan every label, and run the process manually for a week. Once the basics work, expand to the rest of your SKUs and connect the scans to your inventory system.
If you want a system that generates labels, receives scans, and updates your records automatically, without adding manual steps or replacing QuickBooks, talk to our team. We build systems around how your operation actually runs, not around what a software vendor decided was standard.
Frequently asked questions
What is a barcode and how does it work?
A barcode is a machine-readable pattern that stores a number or short text string. A scanner reads the pattern and sends that value to your software, the same way a keyboard sends a keystroke. The scan replaces manual data entry, which cuts typos and speeds up receiving, picking, and shipping.
What barcode type should a small warehouse use?
Code 128 is the right default for most small warehouses. It handles letters, numbers, and special characters, prints cleanly on standard label stock, and works with every warehouse scanner on the market. Use UPC-A or EAN-13 only if you are selling retail products to consumers. For bin locations and internal SKUs, Code 128 covers everything you need.
How do I create a barcode for free?
Search for a free online barcode generator, enter your item number, select Code 128 as the format, set the size to match your label stock, and download the file as a PNG or SVG. The whole process takes under 10 minutes for a single label. Test-scan the result before printing a full batch.
What size and resolution should my barcode labels be?
Print at 300 DPI minimum; 600 DPI is better for labels smaller than 2 inches wide. The minimum bar height for Code 128 is 0.5 inches, but taller is easier to scan. Always test-scan a single label before printing a full batch.
Can I use barcodes with QuickBooks?
QuickBooks can store item numbers that match your barcodes, but it was not built for barcode scanning workflows. A custom inventory layer can sit between your scanner and QuickBooks to handle the matching logic, update counts, and push results to QuickBooks automatically, without replacing the software your team already uses.
What mistakes should I avoid when creating barcodes?
The most common mistakes are printing at too low a resolution, using duplicate numbers across different items, skipping the quiet zone (the blank margin on each side of the barcode), and not test-scanning before a full print run. Each one is easy to avoid if you slow down and check before you print at scale.
When should I move from a free tool to a custom system?
Move when your item list changes frequently, when you need to reprint hundreds of labels at once, or when the manual export-and-reimport step between your generator and your label software is taking meaningful staff time. A custom system generates and prints barcodes directly from your item database with no manual steps in between.
Start with a free first look
A 30 minute call, your operation mapped, and a clear picture of what we would build. No obligation and nothing to install.
Book a callRelated guides
The rest of this guide, for the parts of the job this page does not cover.
Guides
- Barcode Abbreviation
- Barcode Scan Machine
- Tracking Number Barcode
- Barcode Reader Machine
- Barcode Scanner App Ios
- 2d Barcode Readers
- Barcode Producer
- Barcode Systems for Warehouse
- Barcode Reader Description
- Barcodes and Labels
- Alphanumeric Barcode
- Barcode Scanner Inventory System
- Lpn Barcodes
- Imager Barcode Scanner
- Barcode System for Inventory Free
- Inventory Management Software Barcode Scanner
- Make Barcode